How to order upholstery.
Here is the usual routine for purchasing upholstery.
We go to the nearest furniture store, scope out what looks like will fit. We look at what seems to have the right colour and feels comfortable. We look over our shoulder to find the salesperson hovering in earshot and we place the order. Within a week or so, voila! We have a sofa and or chairs delivered. Simple, right?
These large furniture stores order by volume and house these sofa sets in large warehouses. For this reason, they're able to keep the costs down, however, fabric choices and styles are limited, sometimes only 2 or 3 fabrics, sometimes none.
“You can have any fabric you want as long as it’s the grey fabric showing on the sofa”. (A little sales joke.)
Photo credit - Brentwood Classics
Let’s dive in a little deeper.
The first step should be to measure out the space for sofa, love seat, and or chairs will occupy.
The next step is to find a reputable sofa manufacturing company. Preferably a Canadian one, better yet, a local Canandian, sofa company. Local manufacturing companies will offer different price points. (Contact me for my favourite, competitive, local sofa companies.)
The reason I’m recommending a local company is that there will be far more options available to you. These sofa manufacturers have a showrooms that allow you admission to visit.
If you are redoing the space, take all your samples with you. Your paint sample, a fabric swatch, a wood sample. I promise you, your colour samples will look different in the showroom light than in your home. You can look at all their fabrics, and there are hundreds! As well you can sit on all the product. Not to mention - supporting local businesses.
Although you can’t order from the showroom, you can walk away with all the information you’ll need to order your newly found sofa style with the perfect fabric. In most cases 2 or more toss cushion is usually included with your ordered sofa. You will have to choose a coordinating fabric for the toss cushions as well. This allows you to have a little fun with the sofa fabrics and patterns.
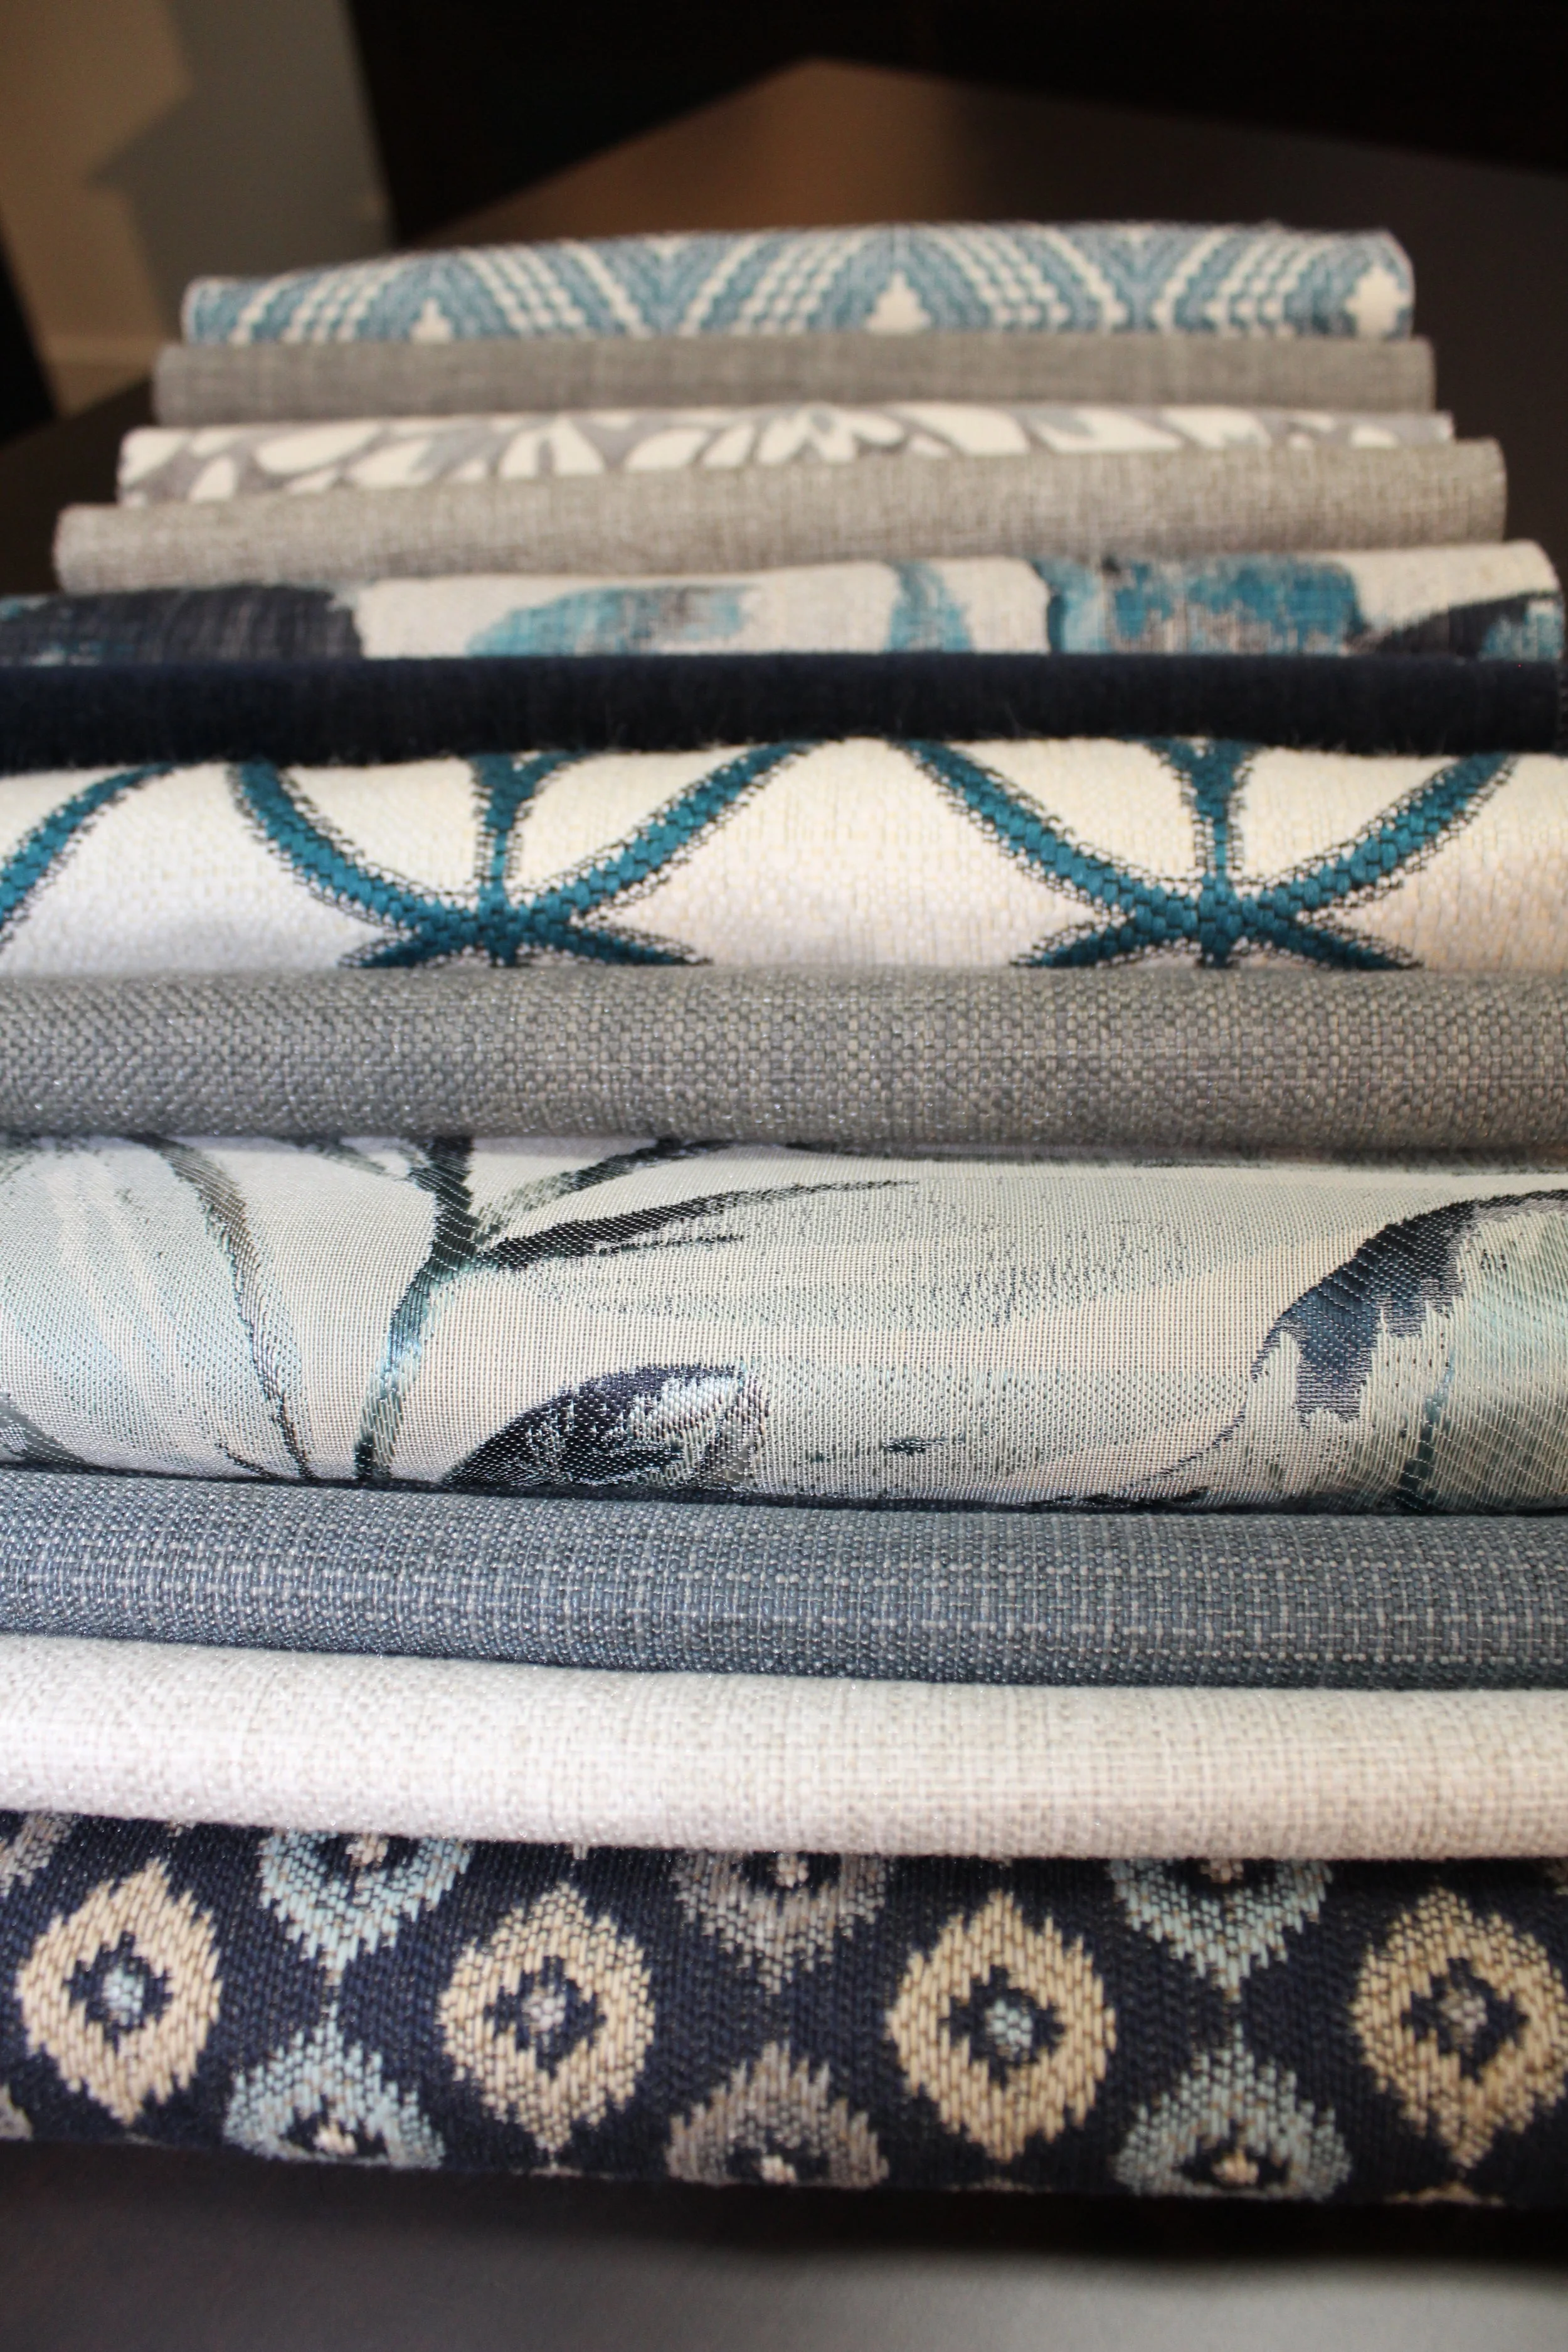
Fabric anyone?
Photo credit - Ennis fabrics.
Something to note: Although showrooms do their best to make your visit pleasant, they are a “showroom” and not a retail establishment, they don’t have the sales staff. A manufacturers showroom is an extension of the manufacturing facility reserved as a courtesy for designers and store owners alike to see and try their product, in turn, the manufacterer makes this available and open to everyone.
Go in ready to take notes and pictures and do some work. Going in prepared with your samples will make the process a little easier.
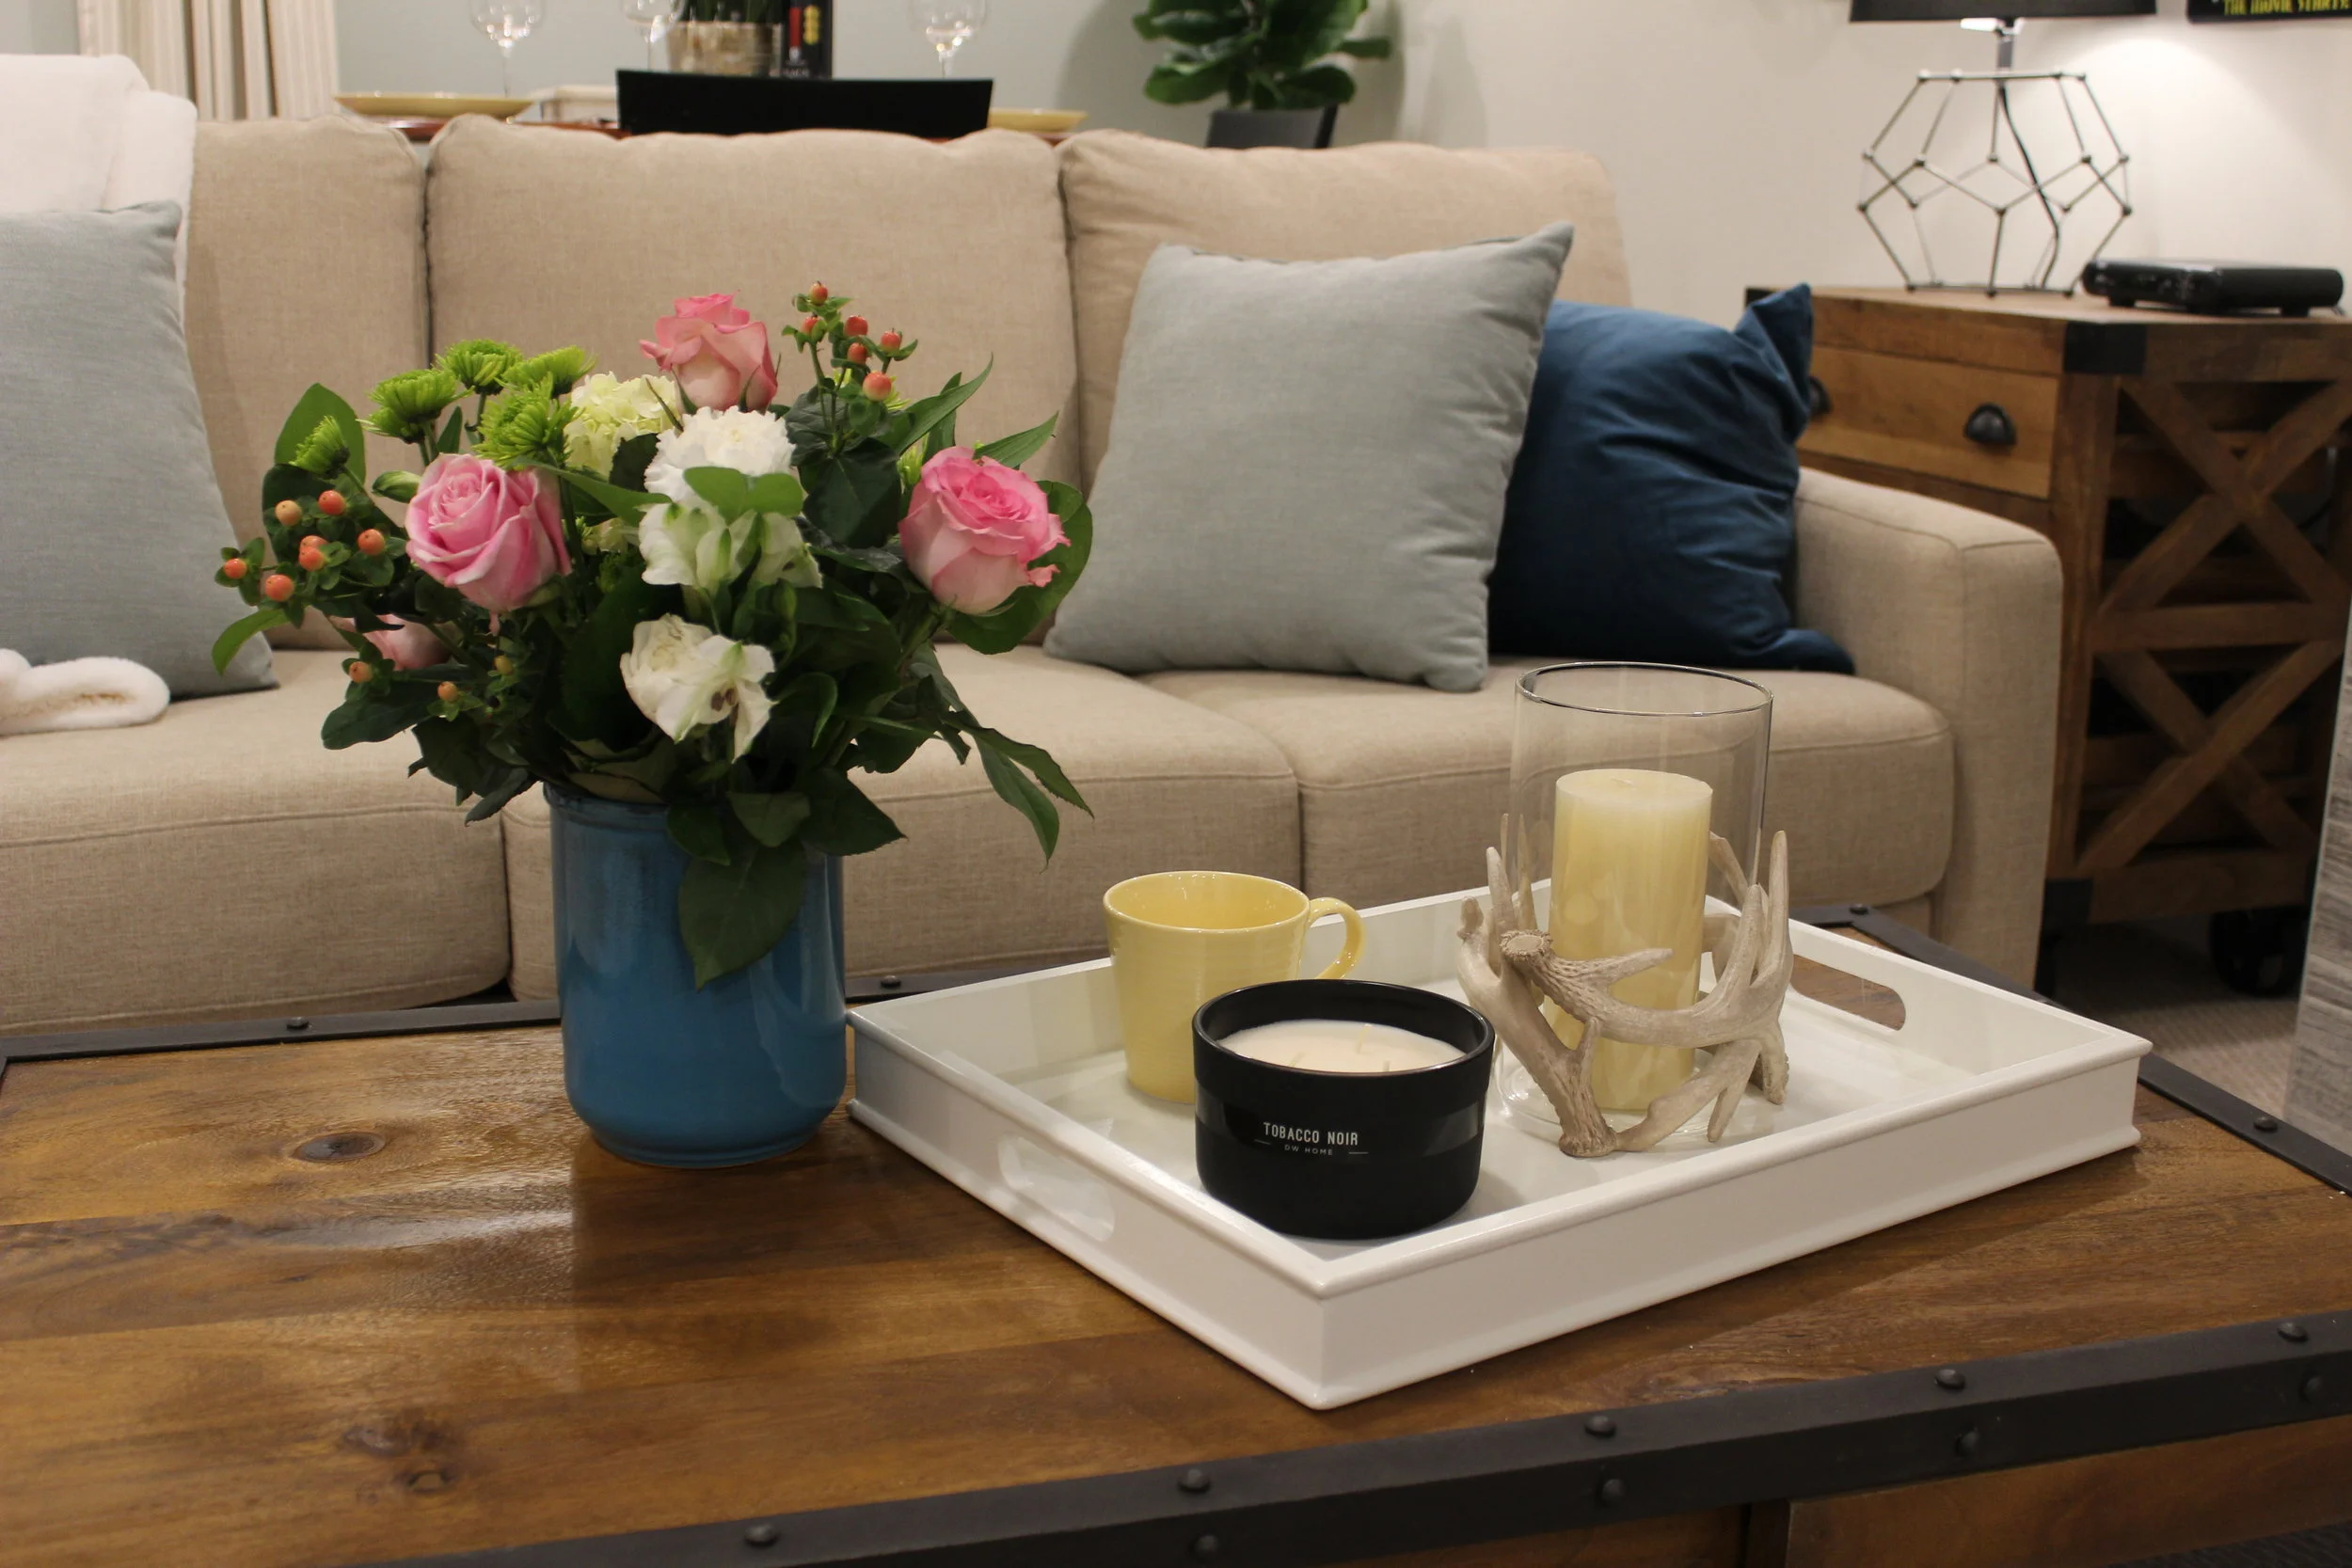
Photo credit - L. Rodrigues
All product will have a product number and a reference page. This sometimes is available on the manufactures website. This is a page with the dimensions of your chosen style and relative styles. From there you can choose different sizes and pieces. Sofas, sectionals, sofa chaise, condo size sofas, sofa beds, love seats, chair and half, chairs, swivel chairs, ottomans, storage ottomans, stools, benches, etc…
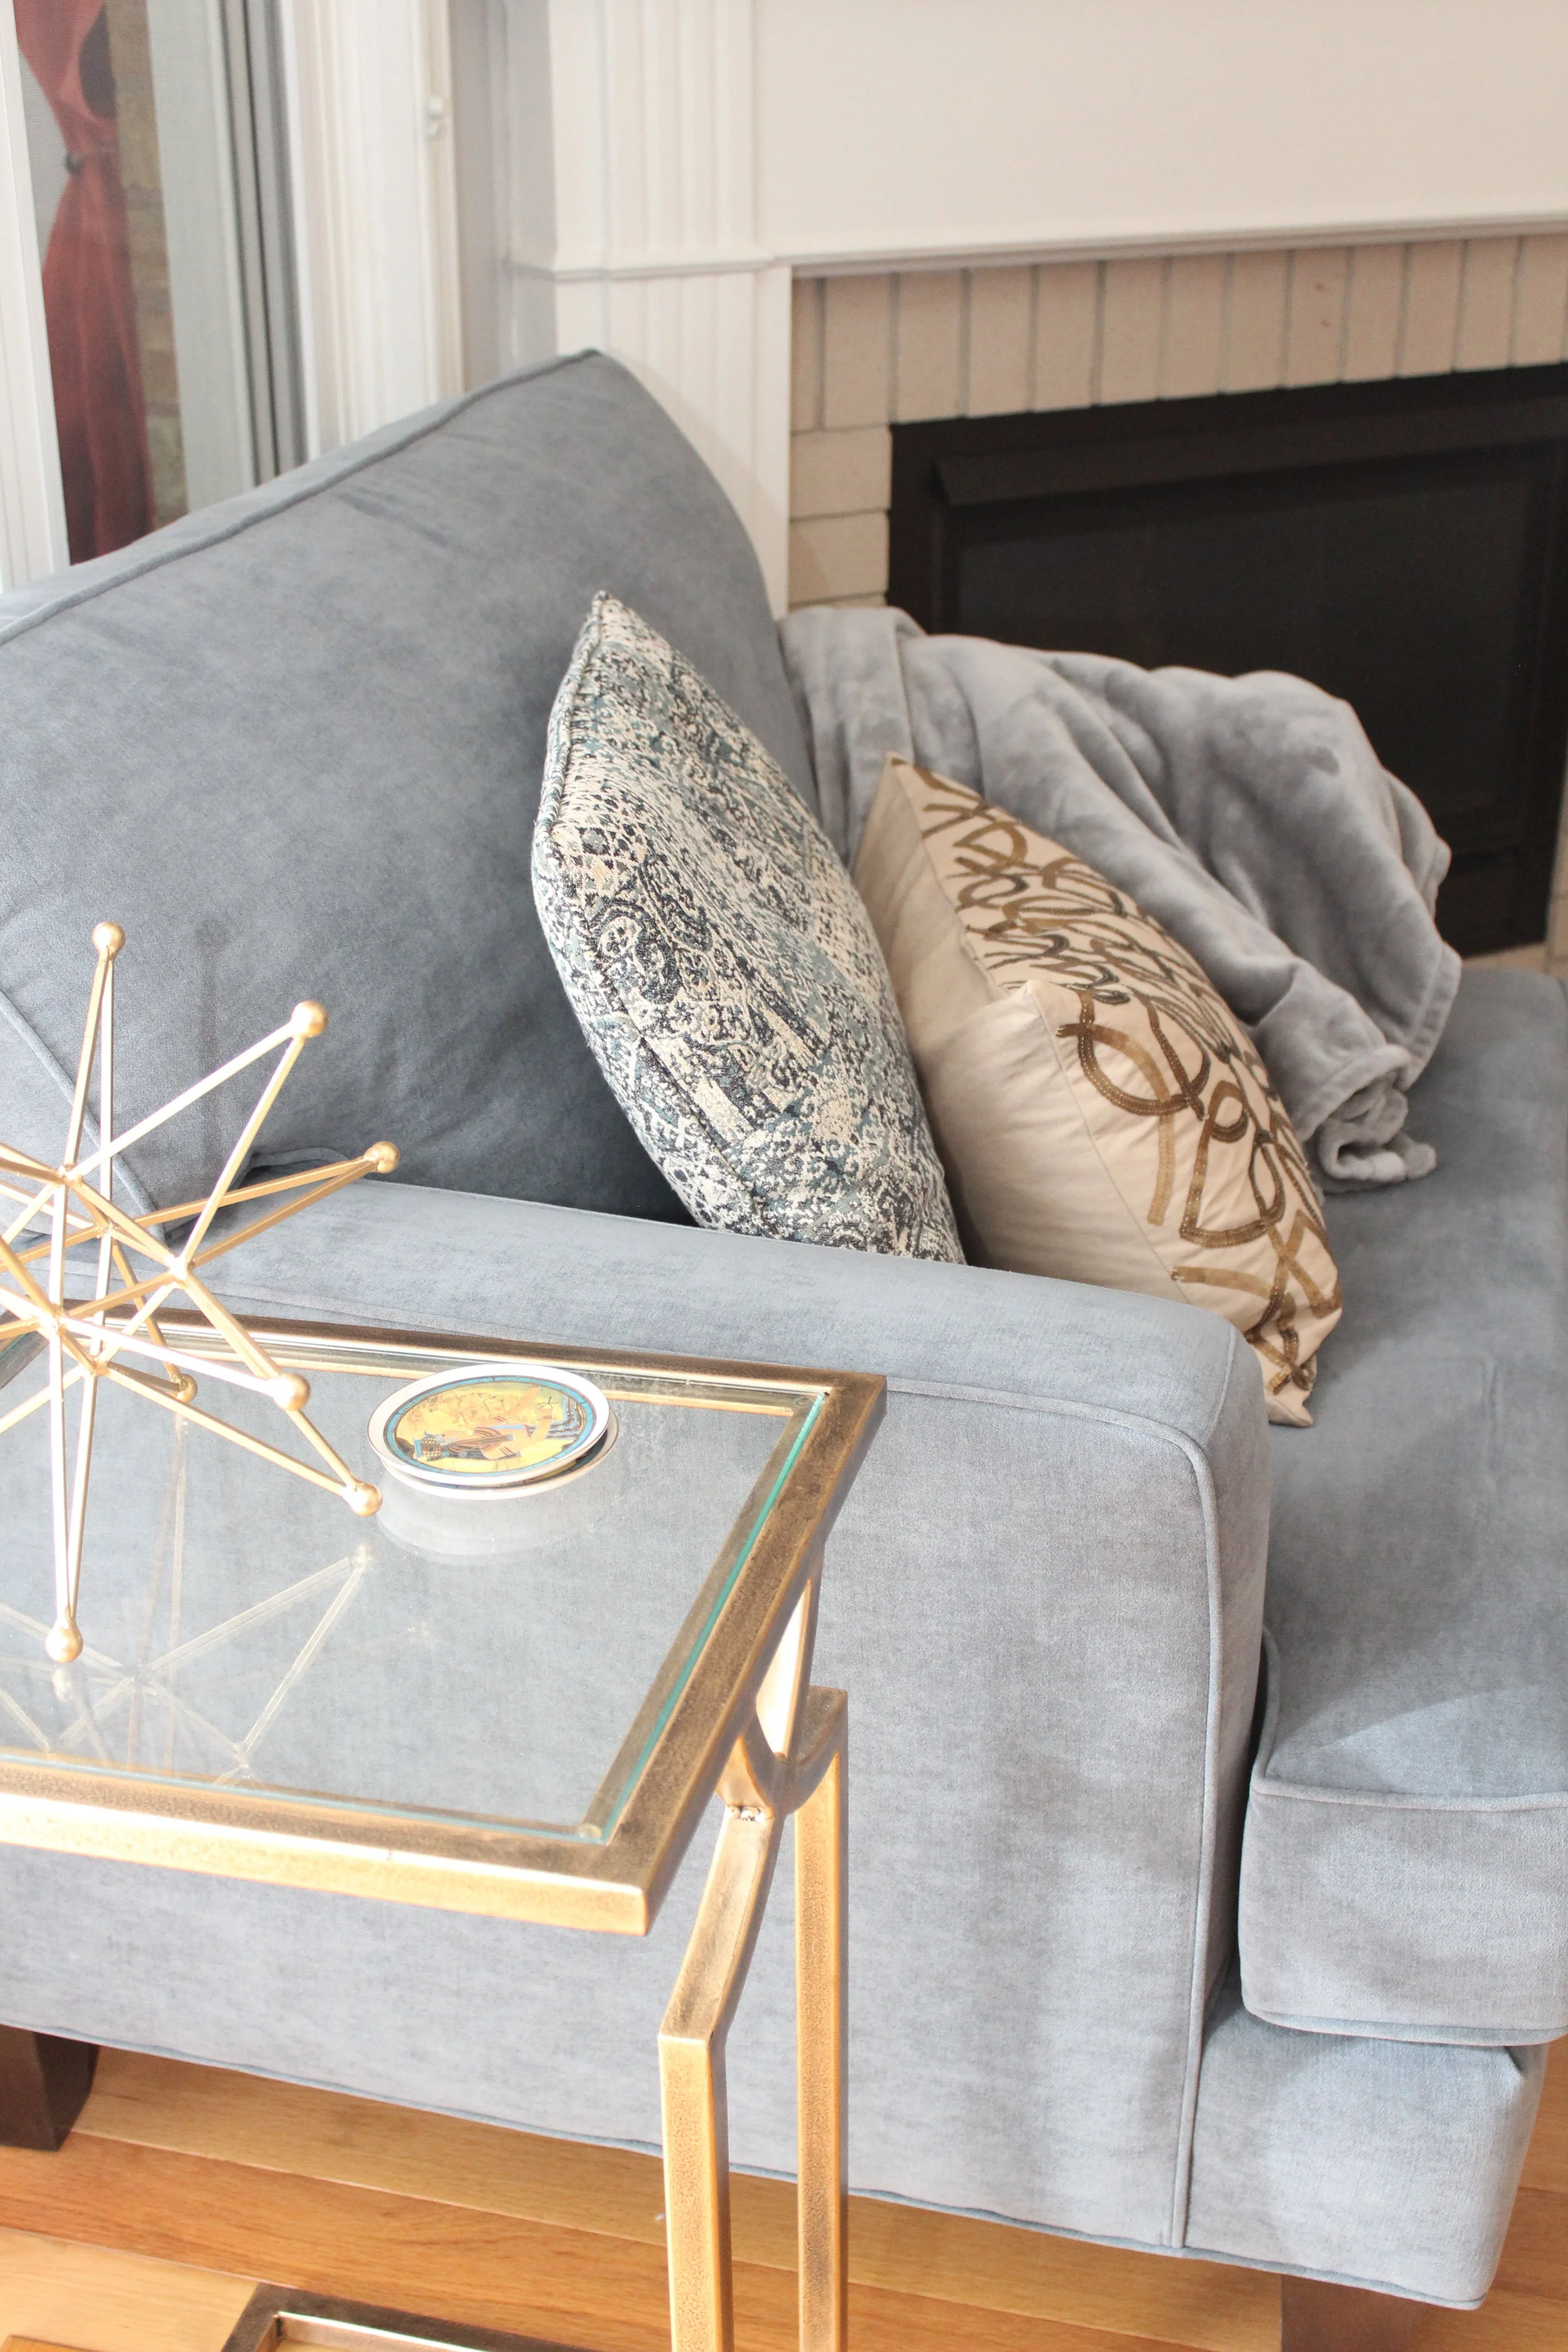
Photo credit - L. Rodrigues
These furniture manufacturers will go one step further. Some have custom sofa programs where they will make your sofa to exact measurement specifications, they will also alter the arm or back or interchange styles from one sofa style to another.
Some will allow you to change the feet. I’ve seen chrome feet in the mix. I’ve seen an espresso square block foot. blonde show wood etc…
Another perk they will offer is C.O.M. also known as "customers own material". You can purchase your own material and bring it to the manufacturing facility and they will upholster your sofa with it. Going this route, of course, will cost a little more, but you are guaranteed to have a sofa that’s unique and just the way you want it. Ultimately, this is the same way to buy sofa as the large furniture stores, only, you are exposed to all the styles and fabrics.
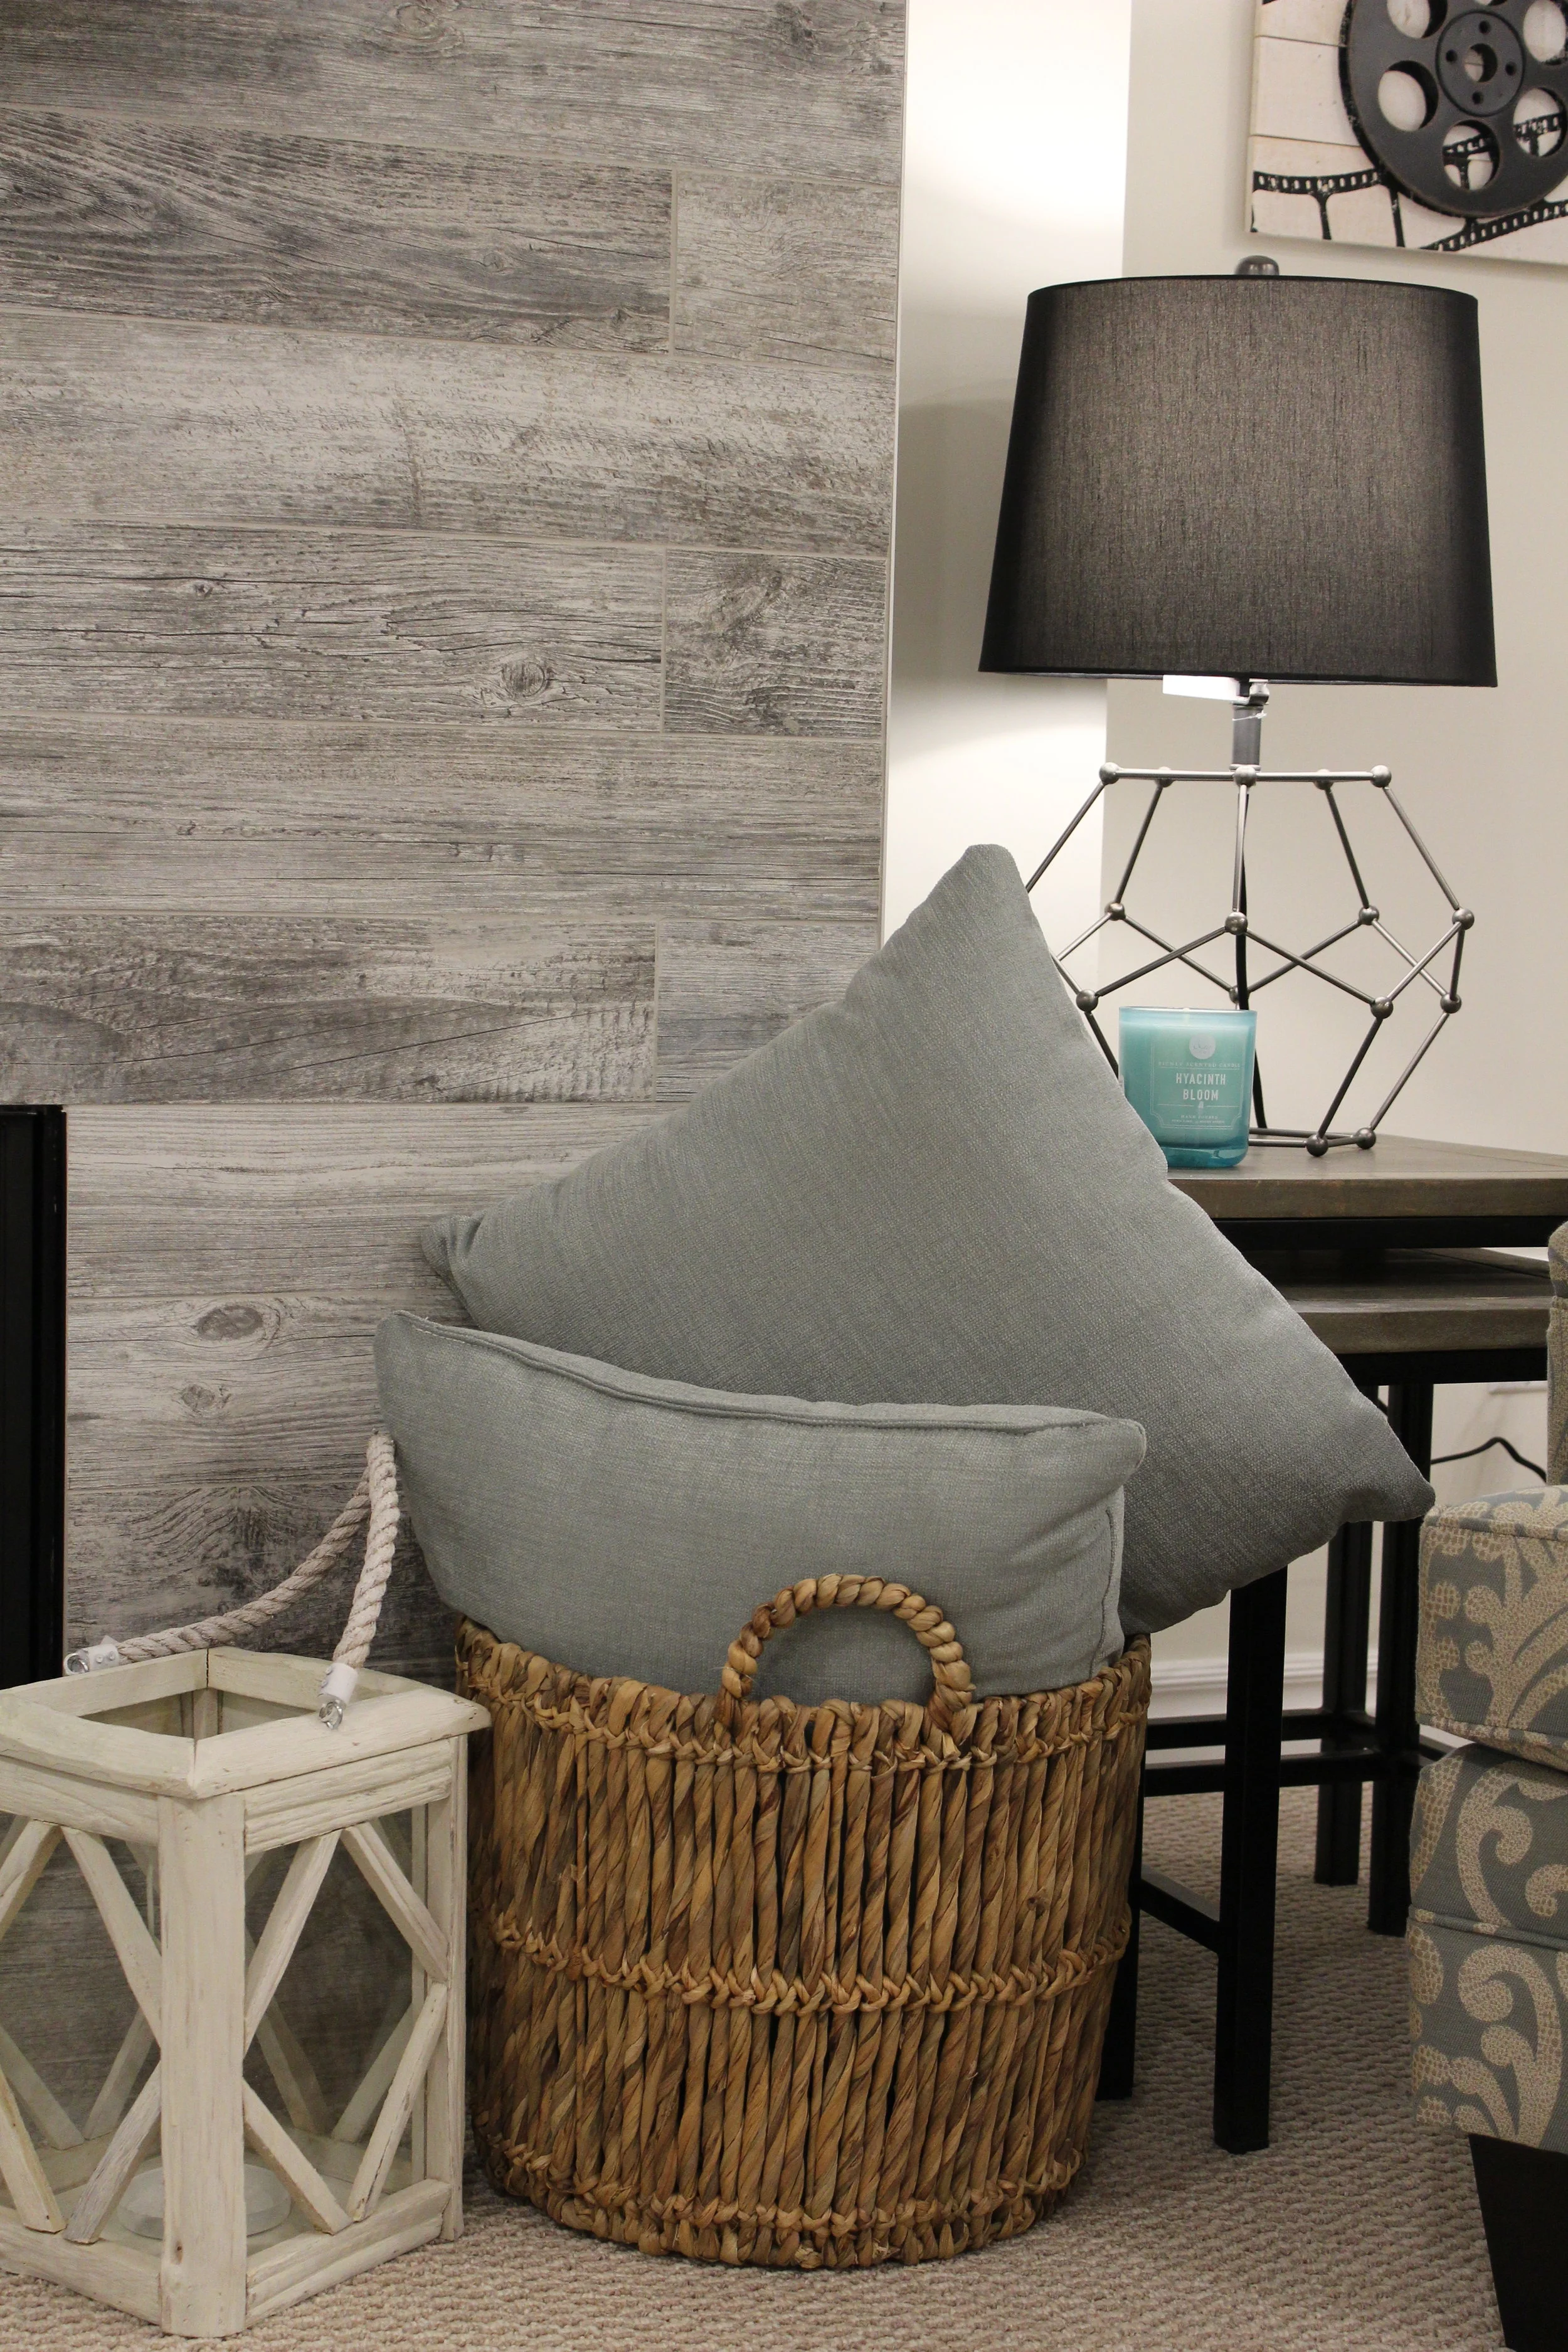
Photo credit - L. Rodrigues
Some companies will have genuine leather as an option. Some will have feather wrapped seats and back as an option at a premium. They will offer a denser foam at a premium, arm caps, extra toss cushions.
Photo credit - L. Rodrigues
Once style and fabrics are chosen and all decisions are made, its a matter of placing the order. The usual turnaround time to produce your ordered sofa is about 8 weeks.
SECTIONALS:
If it’s a sectional you’re in the market for. Full schematics with dimensions will be available to you.
There are countless configurations for a sectional. From sofa chaise to “U” shape sectionals. The important part is to purchase the correct sectional configuration to fit your space properly.
Sectional schematics.
There are sectionals with a curved/rounded corner. This is softer if you’re freestanding it in the middle of your space. There are love seats both right and left. Right-hand sofa, left-hand love seat, and vice versa.
There are armless chairs to extend the sofa or love seat to get it to the exact size you need and maximize your seating.
There will be matching chairs and ottoman to the style of sectional you’re looking at.
There will be sectionals available with queen pull out beds, double beds, even single beds. It will be your decision to have the bed on the right or left.
Photo Credit - brentwood classics
The difference here, is time. Give yourself plenty of time and a whole new world of fabrics and styles will open up.
That’s the process. Pretty simple, yes?
Stay tuned to hear a little bit about "sofa styles".
Drapery - Part 4 (Points to Ponder)
If you are in fact considering having custom drapery made. Here are a few points to ponder.
“Pattern repeat”. Fabrics with a “pattern repeat” are generally fabrics with a small pattern to a large or bold pattern. The larger the pattern the more fabric is wasted on matching the pattern, the more expensive it will be. Calculations are made to account for the pattern repeat. Not only will you need more yardage of fabric, but take into consideration the way the pattern will ultimately look when it’s rippled.
Here is an example of a pattern that would look completely different in the sample book. I can see vines, birds and flowers in the mix.
The pattern that was lovingly chosen may not look the same as it did when it was lying flat in the sample book or on the bolt.
When a patterned fabric is chosen with a box or inverted pleat heading the pattern may not sit at the top as you pictured. At worse, the pattern may look jumbled. Don’t let this discourage you from that bold pattern. If you get to this point and you’re unsure, consider hiring a pro to help you make these decisions as they can be costly mistakes.
Here is an example of pattern that has been perfectly lined up in the heading.
Here’s a note about the lady who sews all my drapery.
Meet Dora.
Dora Buchinski
Dora is an accomplished seamstress. She grew up with it around her. She tells me her mom was a seamstress for Sears when Sears had a custom drapery workroom in Kitchener.
Dora has been in business since 1986. When she’s not working she enjoys spending time with her kids, travelling- favourite destinations are NYC, Cyprus, Bahamas to name a few.
She enjoys comedy shows and live music and of course watching Jonathan (her son) perform whenever possible.
I asked her what her favourite draperies are? Her favourite drapery, right now, are panels- lined full size panels. “Working with quality fabric and decorative trim is my absolute favourite”!!
“Most of my contacts are in the design community”.
When my seamstress of 20 years retired I had to look for someone new. I haven’t known Dora for very long. My experience with Dora has been very positive, she’s professional and always willing to explore new ideas and possibilities. This is important to me because new designs and ideas are only as good as the person who will execute them. I value her input and would recommend her to anyone.
Here is her contact.
https://draperiesbydora.ca
Follow her on Instagram, Facebook and Pinterest.
Bay and Bow Windows
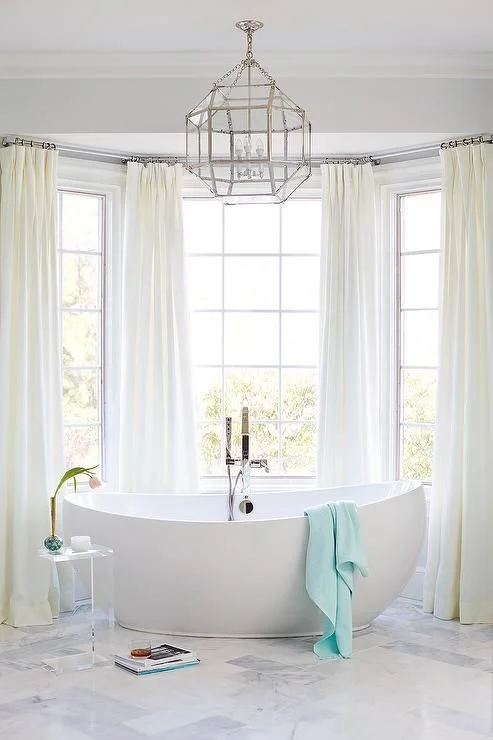
Bay windows are very special. If you’re one of the lucky ones to be blessed to have a bay window, dress it accordingly. Use the same general rules as with a standard drape. Keep in mind the height in which the drape will be mounted and the directions or stack back of the drapes when they are opened.
A bay window rod is a little different, it should be a continuous rod with an elbow or a moving joint that will allow for the exact angle degree of your bay or bow window. I’ve seen drapery mounted on the outside of the bay; the drapery did not conform to the window but went straight across the outside of the entire window. This is a shame because not only is the drapery robbing you of space in the bay but it also covers up a beautiful architectural element in the room.
Credit - Pinterest
In the end, beauty is in the eye of the beholder. Try thinking outside the box. If its well made with quality fabric, most likely the turnout will be a positive one.
Lastly, avoid buying your drapery for a space that’s been well thought out and planned from a store where you buy your groceries, drywall and screws!
Please send me your comments or questions, I’d love to hear about your drapery ideas, please send me photos too!
Drapery - Part 3 (Style)
Although style is such a personal topic, here are some general thoughts and ideas.
Something I do quite often for clients is “non operative” side drapes. What this means is, the drapes don’t open or close. The purpose of non operative side drapes is to maintain the cost while injecting character, colour and softness in the space; in a sense, to complete and frame the window and help remove the echo from large spaces. This idea works really well with that fabric that is costly - as you will need only minimal yardage. Use this with and without the privacy of a blind, depending on the room or space. It’s a great way of styling without breaking the bank.
TIP -
Keep in mind this cost effective idea works best with small to medium size windows. Large windows will naturally call for more yardage.
NOTE BELOW - THIS ROD IDEA WILL ALSO BE COST EFFECTIVE.
PHOTO CREDIT - ETSY
When dressing your windows, blinds seem to be the first thing to come to mind, it’s an easy fix and doesn’t require much thought. I especially love the folded, paper disposable kind, (sarcasm). I love blinds for their fresh and clean simplicity and their ability to give you privacy. Blinds also protect you, your floors and furnishings from the sun, they act as a stepping stone to build, layer and complete your design. They work in any space from a baby’s room to an industrial warehouse. To have blinds only in a window creates a very stylish, minimal and modern feel.
PHOTO CREDIT - PINTEREST
Let's give some thought to our windows, let’s bring the romance back!
If you are in fact thinking of having custom drapery made, here are some thoughts.
The days of “swags and jabots” are long gone, don’t let anyone tell you otherwise. (Laughing to myself) Today’s tie-backs are simple. No ruffles, no balloons. (Laughing again) Been there, done that! No harsh puddles either please! Again, these styles may come back, however, we are currently far from them.
.
Here is an image of a simple tie-back.
Today’s drapery style is lighter, simpler. Just side drapes, thats all.... Not only is it a more affordable style, it’s more conducive to our busy lifestyle and is easier to live with. The character and personality comes from the fabric and hanging options, from pattern, colour and fabric content, i.e., linen, silk, a heavier velvet, a polyester blend.
Formal living space with side drapes.
Polyester drapery fabric is very cost effective. There are many polyester fabrics nowadays with a genuine look of silk or other natural fibres that would fool the best trained eyes. Fabric content is not only important when it come to cleaning but also how in fact the drape will hang. This is a sewing/fabric term called “the hand”. A fabric that’s thinner, like a semi sheer but heavy in weight will result in a floppy, thinner hang, this is known as a “softer hand”. This compared to a heavier, stiffer fabric that’s been lined, this will hang in more of a bulk, like a ball gown, like a satin or silk that’s been interlined. This is an important styling factor, the end result of your drapery will depend highly on the weight of your fabric.
Below - Dupioni silk drapery panels.
Style will also come from the “heading” of the drapery. “Heading” is a term used to define the style of the tops of the drapery, and how they will be hung; hooks, clips, rings, grommets etc. Traditionally the headings are a 3-pleat, pinch pleat; your mother probably had a pinch pleat and your grandmother probably had them as well. Let me tell you, this is still the most timeless heading.
three pleat pinch pleat.
Designers and drapery sewers, throughout the years have altered the traditional pinch pleat heading to bring it to date. They’ve altered the 3-pleat to a 2-pleat-pinch pleat. By having only 2 pleats makes the drapes less bulky and simplifies the drape at the top; the drape will ultimately look sleeker. This is good if you have little space at the sides of your windows to “stack back” the drapes. “Stack back” is another drapery term used for the space used to house the drapes when they are fully opened as not cover up the “window” (glass) space. The favourite “tack top” is another take from the traditional pinch pleat. This is where the each pleat is tacked or held together at the top instead of the bottom of the pleat, again, simplifying the drape. Other headings like the box pleat or the inverted pleat can have a more formal and tailored feel, looking equally as nice in a casual space. There are grommets, these are the large circle holes that the rods will thread through. Last but not least, the new ripple-fold, again, simple. Minimal rod with minimal fuss at the heading, just pretty ripples.
ripple - fold
Drapery - Part 2 (The Do's and Don'ts)
Let’s start with the do’s and don’ts, shall we?
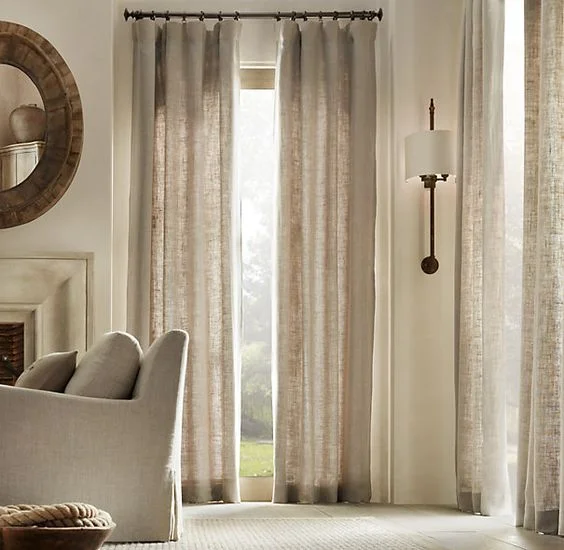
If you work shift work, DO have your drapes lined, better yet, have your drapes lined with a Black Out or Dim Out lining. This is thick and solid fabric that goes on the back of the drapery; much like you would see on the drapery of a hotel room. Lining the drapery will make the drape fuller. Unless you’re going for a coastal, billowy curtain that will float beautifully when the windows are open, I would recommend lining. The Black Out or Dim Out option would be available to you with a custom drape.
See below for a beautiful example of unlined drapery.
Photo credit - Restoration Hardware
-Tip
If at all possible; try to keep your window with the same lining throughout your house. If this is not possible because of style purposes, DO try to keep your windows at the front of your house lined and with the same colour lining, upstairs and downstairs. This creates a cohesive appearance which is neat and tidy. Nothing throws off curb appeal like the pattern of your toddlers, blue and red, robot drapery at the front window. If you’re installing blinds, again, try to keep the blind colour and style consistent.
Drapes creating a cohesive appearance, neat and tidy…
DO have your drapery at the correct length. Although every window and situation is different, my favourite length is to have the drapery sit one inch off the ground, or you may want to have the drapery just touch the ground. Having your drapes around 3” or 4” off the floor is not correct. This single handedly may be my biggest, decorating, pet peeve! Yes, even bigger than hanging your pictures too high! Are people still doing that?
Photo credit - ehow
DON’T shorten your drapes to meet your window frame. If you have a sofa or bed under your window, move the piece of furniture forward and away from the window enough to have the drapes go all the way to the floor in behind.
Photo credit - Ethan Allan
If you are blessed with space between your window and ceiling, put this space to good use. DO hang the rod about half to 3/4 of the way up. Your drapery will have more presence, look grand, and make your ceilings look higher. If you don’t have space between your window and ceiling, perhaps in a basement. Hang with the appropriate, ceiling mounted rod directly onto the ceiling.
Although this drapery (below) length is correct it would have been much more effective had it been hung higher.
Photo credit - Kohl’s
If the space allows, DO go over the sides of your windows a few inches each way. This will trick the eye into thinking the window is wider and higher.
So romantic…
DO purchase enough drapery fabric to cover your window. You don’t want your drapes to look like a flat sheet was hung when they’re pulled shut. If the drapery is custom made, careful calculations will be made to ensure you are buying enough fabric to properly cover the window. There should be enough for a soft ripple of fabric even when the drapery is closed shut. If you are buying “ready mades” (curtains or drapes that are already made, off the shelf) you may want to buy multiples to ensure you have enough fabric to cover the whole window and still maintain a generous ripple. You may also want to alter or hem them, and please, please, press your ready mades before you hang them!
Ya…no.
DON’T skimp out on your drapery rod. Proportion your rod to your drapery. Drapes with substance that have pattern and colour and hang in a large window will take on a uniform look with a beefy, thicker rod. Ensure your rod is supported with the correct amount of brackets as to not allow bowing in the centre. (Bowing rods is another pet peeve of mine.)
Big windows, big rods. I believe you should use big rods for all windows, large or small. Use large, thick rods with interesting finials. (The decorative pieces at each end of the rods) This detail will act as jewelry in a room. Even if the drapes are never closed; a thicker rod acts as a bridge from one side drape to the other side drape completing the whole package. If you already have a smaller, skinnier rods and you want to use them, use them at smaller windows.
PHOTO CREDIT - PINTEREST
DRAPERY (one of my favourite topics) Part 1
These are simple yet solid rules to drapery.
Photo credit - Pinterest
Why have drapes at all? For their ability to give you ease of privacy. They also protect you, your floors and furnishings from the sun; they keep the annoying glare from the sun beaming through your window and hitting your television screen and believe it or not, with proper lining, they make your house cooler in the summer and warmer in the winter.
A well made and fitted drape will add an element of decorative richness to any space, they add softness and cosiness, they add romance and grandeur, they take away the emptiness and echo of vast spaces. Last but not least, drapery can also correct windows that may not be symmetrical or that are irregular in shape or size. There are “ways” in drapery that fool the eye. Drapery is a design completing detail. It’s a designer’s polishing and finishing tool.
Drapes will add softness and cosiness, they add romance and grandeur…
This is a picture of a basement with irregular ceilings. Even though the windows are not large, the drapes are floor length. The floor length drapes keep the eye vertical, this creates the illusion of taller ceilings while correcting the irregular ceilings. These soft drapes give the impression that the windows are bigger than they actually are. Imagine this space without the drapes…
PHOTO CREDIT, L. RODRIGUES
The amount of time and money you’ve spent on renovations merits attention to the importance of the finishing details. I don’t know what it is, but by the time the renovation is nearing its end we want it to be over and give up on the final details. Is it we’ve spent enough money or we’re tired of the never ending decisions? Decisions like mirrors, art, rugs etc… This is true of drapery. By the time you get to the point of dressing your windows you are nearing the end. You’re exhausted on every level, I get it. Make sure you save enough energy and funds for the finishing details. This will make or break your entire project. Or, all your efforts will have been for nothing.
PHOTO CREDIT - PINTEREST
If you’re going to redo a space and you’re opting for drapery, make sure the draperies fit. “Fit” being the key word. Make sure they have the right amount of weight that will “balance" and meet your level of renovation, in dollar spent and in balance of the space. Nothing looks worse than a truly fabulous space and cheap box store drapes. Thin drapes, that look like spaghetti strands on each side. It really ruins the whole experience and makes you look like you really cheapened out or ran out money and ideas in the end. I’ve even seen it with big names on house flipping t.v. shows! Come on!
Your final details will make or break your entire project…
This drapery is far too stretched out to work correctly. There isn’t enough fabric. Although hung at the right point, it’s too short.
photo credit - pinterest
Inviting Beginnings
So, I was encouraged to write a blog. Encouragement doesn’t come often, so when it was suggested to me, I couldn’t shake it, I had to give it a go. What to write about is an obstacle; knowing where to start. Interior Design is so vast, it’s such an opinionated and sometimes touchy subject. I have to remember to stay on track, and that my blog will be merely my opinion and impression of what I’m trying to relay. Hopefully, I can deliver. Wish me luck and be gentle.
Me, at my clients house in Moffat, hanging Canadian art in her newly renovated kitchen.
Thank you Donna, for the cute picture.


